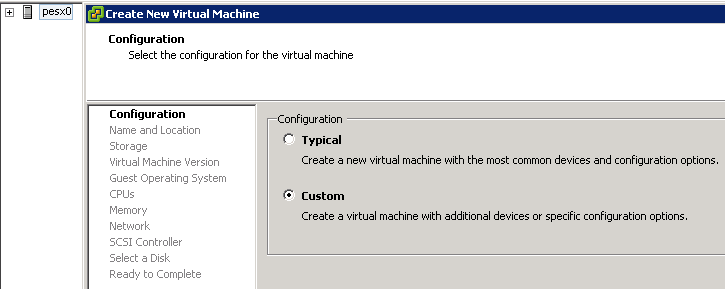
setup, we can start creating our infrastructure VMs. You have a variety
of ways of creating a new VM. With the ESXi host selected (only thing
selected at this point?) on the left pane, you could click the “New
Virtual Machine” link on the “Summary” tab, right click the ESXi
host and choose “New Virtual Machine”, hit Ctrl-N on the keyboard,
etc. Choose an option to create a new VM which will bring us to the
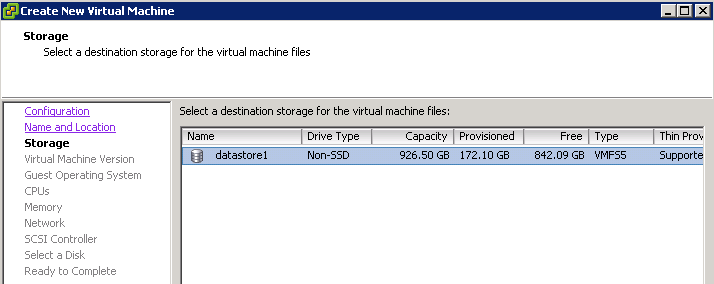
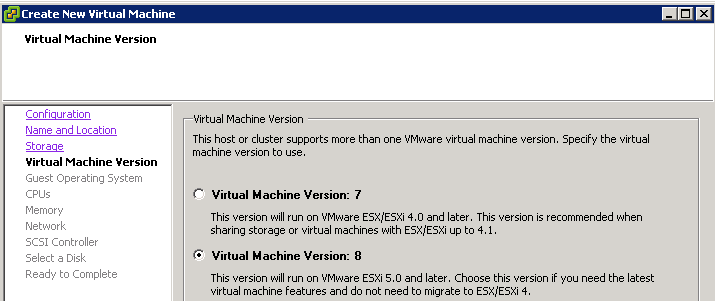
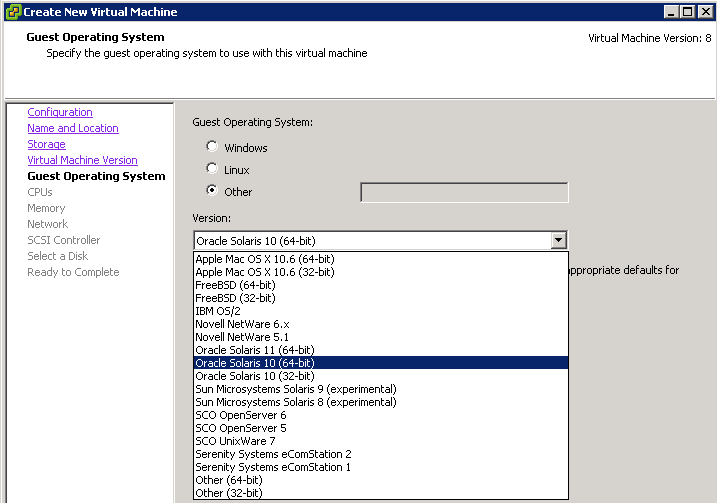
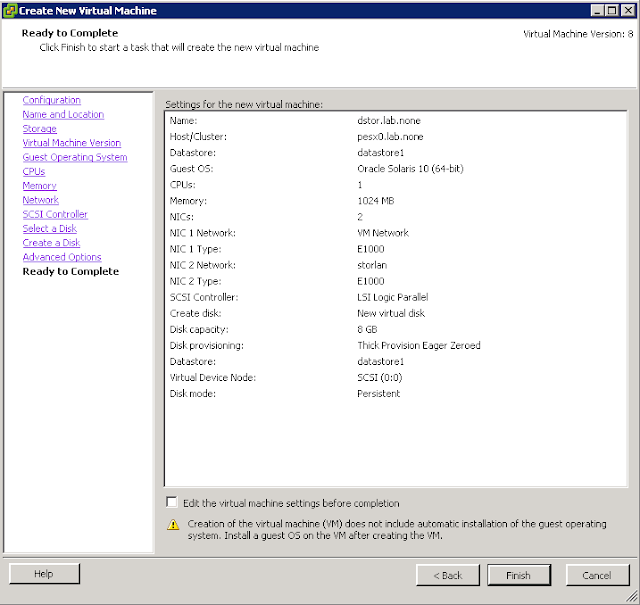
new VM wizard. The following details the setup of VM 'dstor.lab.none'
as a stand in for 'dstor0':


Since dstor0, thus dstor.lab.none as its stand in, will be connected to
2 networks, I've added a second vNIC and set the vNICs to the appropriate
port groups above.


We'll need to follow the same process as above for each of the other
infrastructure VMs. As taken from part 1, the details our infrastructure
VMs are:
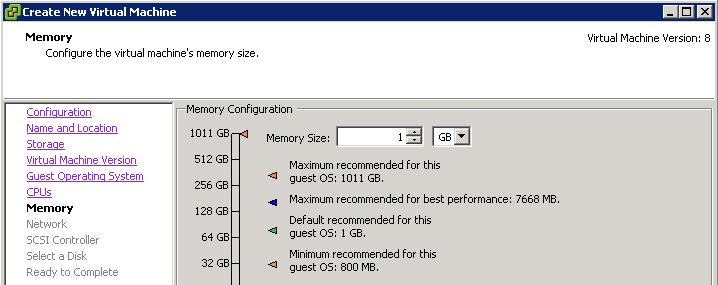
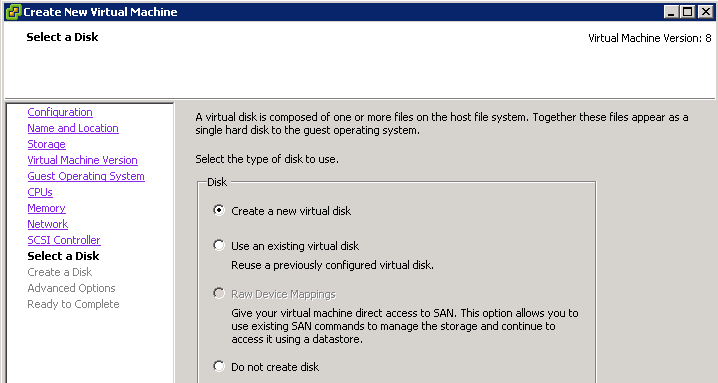
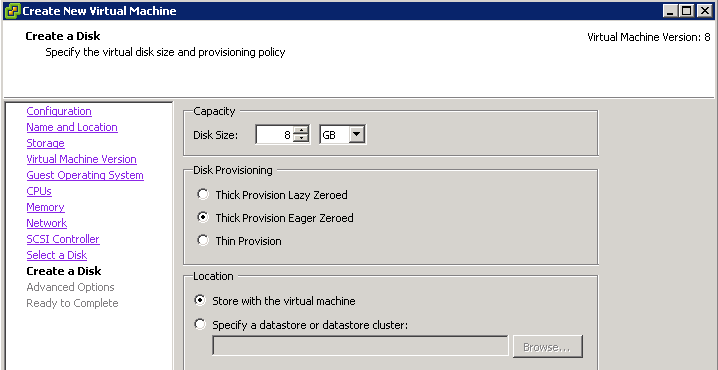
    dstore0:
        - Solaris 10 x64
        - disk0:  8GB (thick provisioned, eager zeroed)
        - disk1 will be added later since the “new VM wizard” doesn't
          support adding it initially
        - 1 vCPU, 1 GB memory
        - 2 NICs, port groups “storlan” and “VM Network”

    vrout0:
        - FreeBSD 8.2 x64
        - disk0:  4 GB (thick provisioned, eager zeroed)
        - 1 vCPU, 1 GB memory
        - 4 NICs, port groups “storlan”, “VM Network”, “vmonet”, and “vmhosts”

    vesx0:
        - ESXi 5 (select “Other 64-bit”, under the “Other”
          options of the OS selection, we'll fix it later)
        - disk0:  2 GB (thick provisioned, eager zeroed)
        - 2 vCPU, 3 GB memory
        - 4 NICs, port groups “storlan”, “VM Network”, “vmonet”, and “vmhosts”

    vesx1:
        - (same settings as for vesx0)

    vcent0:
        - will be deployed later, don't need to create a new VM using
          the wizard like the others above
Once all VMs but vcent0 have been created, you should end up with
something similar to the following (yes, vcent0 is seen below since I
already deployed it):
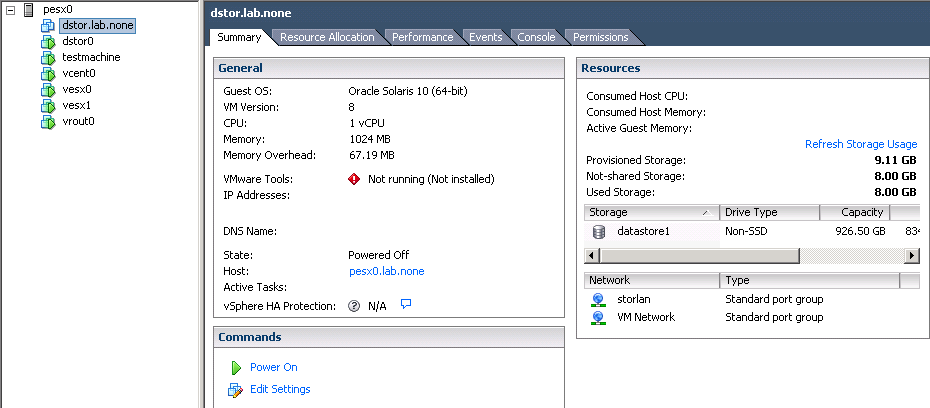
Our infrastructure VMs are now created (except vcent0). In part 6,
we'll go through the necessary secondary VM options and adding our boot
ISOs to our local datastore on pesx0.
see also:
vSphere 5 Lab Setup pt 1: The Overview
vSphere 5 Lab Setup pt 2: The Management Hosts
vSphere 5 Lab Setup pt 3: Installing the Physical ESXi Host
vSphere 5 Lab Setup pt 4: Network Configuration on the Physical ESXi Host
vSphere 5 Lab Setup pt 6: Infrastructure VM Configurations and Boot Images
vSphere 5 Lab Setup pt 7: First VM Boot